
Upgrading a SATA hard drive to a Solid State Drive (SSD) in any computer is a great idea. SSD’s are typically ten times faster than the traditional drives, and an upgrade with an SSD is the perfect way to breathe new life into an older computer. In fact, by doing so, the computer will function even better than it did when it was brand new.
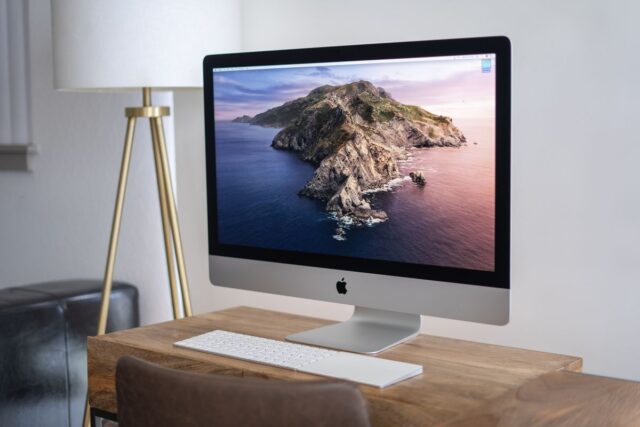
I’ve upgraded all sorts of computers with SSD’s in recent years, and one of my most frequent upgrades has been on older iMacs. The practical steps involved in upgrading an iMac are a little more tricky then those involved with a MacBook and the purpose of this article is to describe these steps in some detail.
iMac Models Since Late 2012
This upgrade guide applies to iMac models since late 2012. In these models the glass and LCD are a single assembly which is attached to the iMac frame using adhesive in the form of double-sided tape. Prior models had the LCD assembly screwed in to the iMac frame and the LCD was covered by a piece of glass which was held in place magnetically. The SATA hard drives in these models can also be upgraded to SSD’s though the procedure is somewhat different because of the method of disassembly and reassembly of the computer.
macOS Installation Media
Before commencing this procedure you’ll need to ensure that you have created macOS installation media on a USB. This will be required because it won’t be possible to boot the iMac once the SSD is installed since the SSD will be empty at that point. Apple have provided full instructions for how to create a bootable installer for macOS. You should create your installation media using the most recent version of macOS possible for your model. Big Sur can be installed on all models since 2014, whilst earlier models are compatible with macOS Catalina.
Removing the LCD Assembly
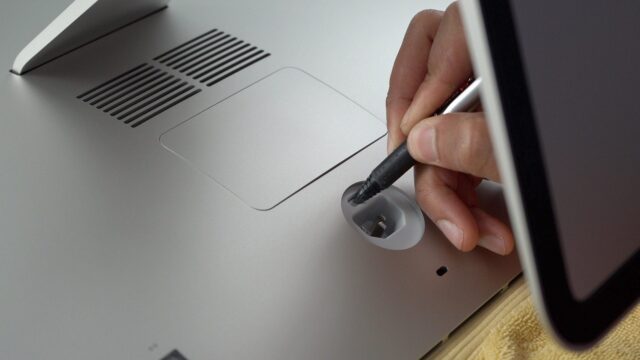
The starting point is to remove the glass and LCD from the computer. The glass and LCD are a single unit which is held in place using double-sided sticky tape. You can purchase prying tools to remove the assembly, but my preference is to use a guitar plectrum, the stiffest one possible. Whatever you use, make sure it isn’t something metal like a screwdriver as you risk marking the computer or, much worse, damaging the glass.
I normally remove the LCD assembly with the computer standing up in its normal position. I start at the top right corner, inserting the plectrum between the LCD assembly and the iMac frame. I then slowly work it down the right-hand side, along the top, and down the left-hand side. It’s normally necessary to work the plectrum around the computer several times. This requires patience as you gradually insert the plectrum more deeply and eventually you will feel the LCD assembly begin to come away from the base. As it does so you no longer require the plectrum and you can gently ease the LCD assembly forwards.
Disconnecting the Cables From the LCD Assembly
As you look inside at the top you will see two cables connecting the LCD assembly to the system board in the computer. One is the LCD cable and the other is for power. You can gently remove these cables where they connect to the system board. For the LCD cable you’ll need to flick up the metal retaining bracket before you can withdraw the cable from the connector.
Removing the LCD Assembly
You can now lower the LCD assembly gently, taking great care that it doesn’t drop out from the iMac prematurely. It’s a good idea to have the iMac sitting on a mat or a towel to provide a soft landing should the assembly drop down. You should lower it back towards you and then remove the double-sided tape along the bottom, which is likely to be still holding the LCD assembly together with the iMac frame. Having removed the tape you can then set the LCD assembly to the side. You should then work your way around all four edges of the main unit to remove all the old double-sided tape.
Replacement of the Hard Drive With an SSD
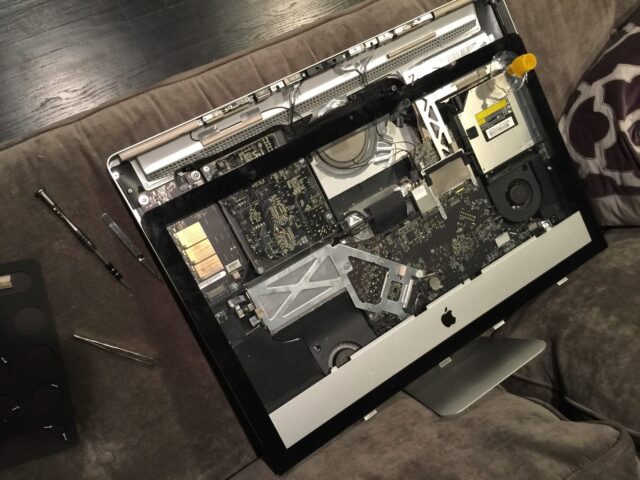
You now have access to the hard drive which you will see beside the left-hand speaker. In the case of a 21.5” iMac it’s a 2.5” hard drive, whereas for a 27” iMac it’s a 3.5“ drive. The photograph below shows what it looks like in a 27” iMac.
In a 21.5” iMac it’s in a similar position but mounted horizontally.
It makes removal of the hard drive a little more straightforward if you first remove the screws holding the left-hand speaker in place. After doing so you can move it a little to the side to allow you access to the hard drive, or you can disconnect it from the system board and remove it entirely.
To remove the hard drive on the 21.5” model, just unscrew the screws from the brackets on the left and right sides holding it in position. Then remove the power and SATA cables from the drive and lift it out. The drive itself is contained in a flexible plastic sleeve which can then be removed. Replacement of the drive with an SSD is straightforward as the SSD is also 2.5” and it’s a straight swap. Just insert the drive into the flexible sleeve, connect the power and SATA cables to the SSD, and screw the brackets back into place.
For the 27” iMac, you only need to remove the two screws in the left-hand bracket. You can then unplug the combo cable from the drive, lift the drive out and unscrew the four screw posts from the hard drive. You’ll need to use a 2.5” to 3.5” converter bracket for the SSD. First screw the SSD into the bracket, and then attach the four screw posts to the bracket. Then reconnect the combo cable, reattach the left-hand bracket and screw back into position in the computer. The photograph shows how this should look.
Following this you can screw the left-hand speaker back into place.
Reassembly of the iMac
You’re now almost ready to reassemble the computer with the LCD assembly. I prefer to do this with it lying flat in case the LCD assembly would drop down while trying to get it into position. Prior to doing this you should apply double-sided tape all the way around all four sides of the iMac frame. Then ease the LCD assembly back into position, starting by lining it up at the bottom.
As you lower the LCD assembly into position you can reconnect the power and LCD cables to the system board. This is also easier to do when the computer is lying in a flat position. Having reconnected the cables you should then lower the LCD assembly fully into position and gently apply pressure all the way around the edge so that the assembly adheres to the iMac frame. You can then lift up the iMac and set it in its normal position.
Reinstallation of the macOS
You’re now ready to switch the computer on and either apply a fresh install of the macOS to the new SSD, or to restore a Time Machine backup. Plug the installation USB you created into one of the computer’s USB ports and boot the iMac while holding down the option key. You should then be given the option to boot from the installation media. In fact, even if you don’t hold down the option key, the Mac is likely to boot directly from the USB as it doesn’t have any other bootable devices present.
As the iMac boots from the installation media, after a few minutes it will reach the Recovery Mode screen. From this screen you can choose how to format your new drive and then either proceed with a fresh installation, or restore a Time Machine backup. Full instructions are available from Apple about how to reinstall macOS.
This practical guide to upgrading an iMac with an SSD was written by Norm McLaughlin. Norm is the founder and owner of Norm’s Computer Services, a computer repair and IT support business in Brisbane, Australia.


